I can Add and Manage Product Attributes
In this tutorial, you'll learn how to add and manage attributes for materials on the products page.
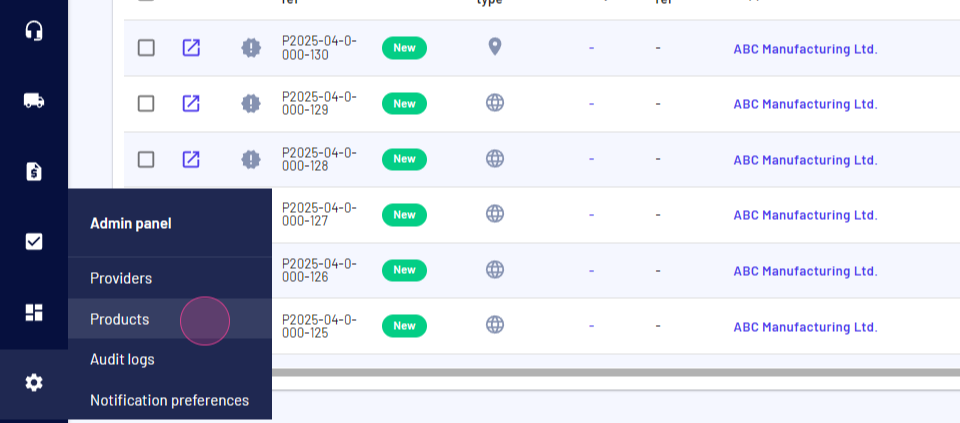
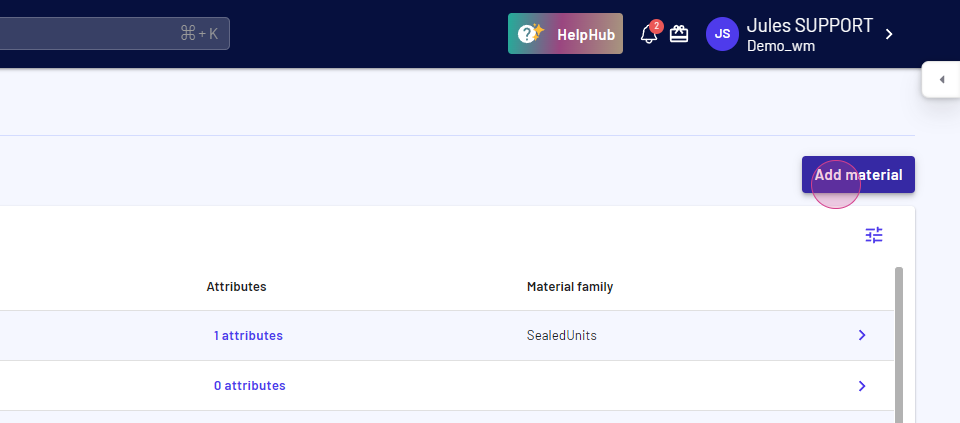
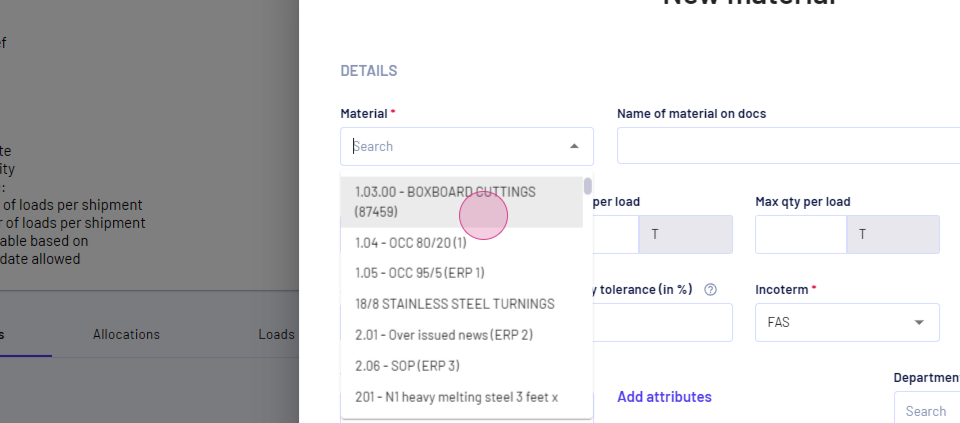
Step 1: Navigate to the products page.
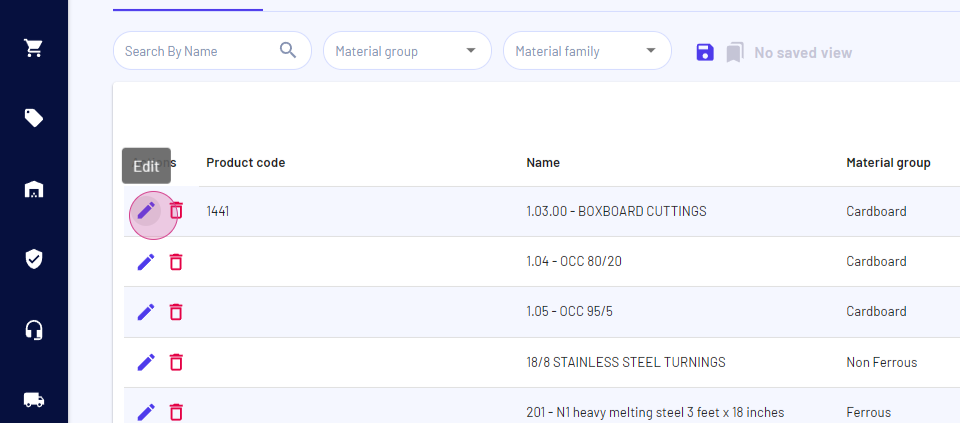
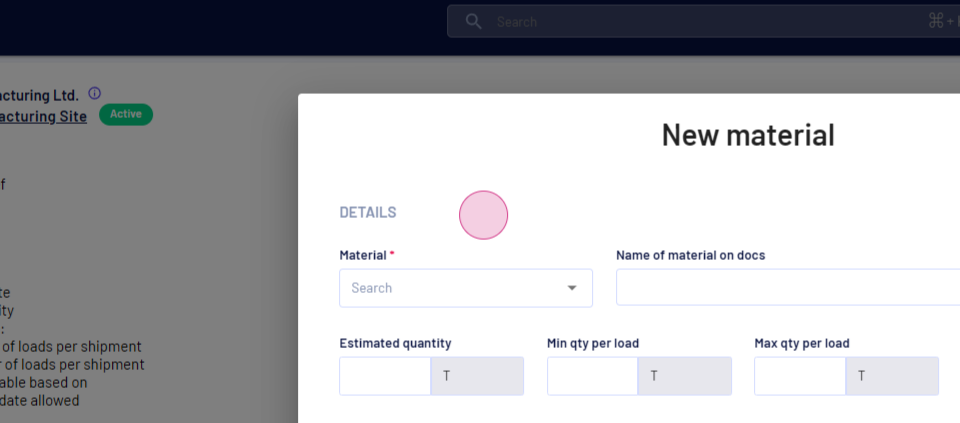
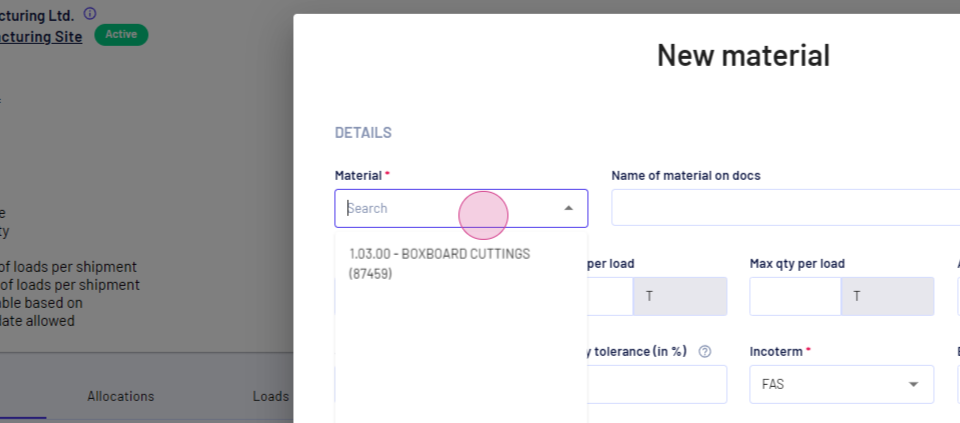
Step 2: Here, you have the option to add attributes to a new material or an existing one.
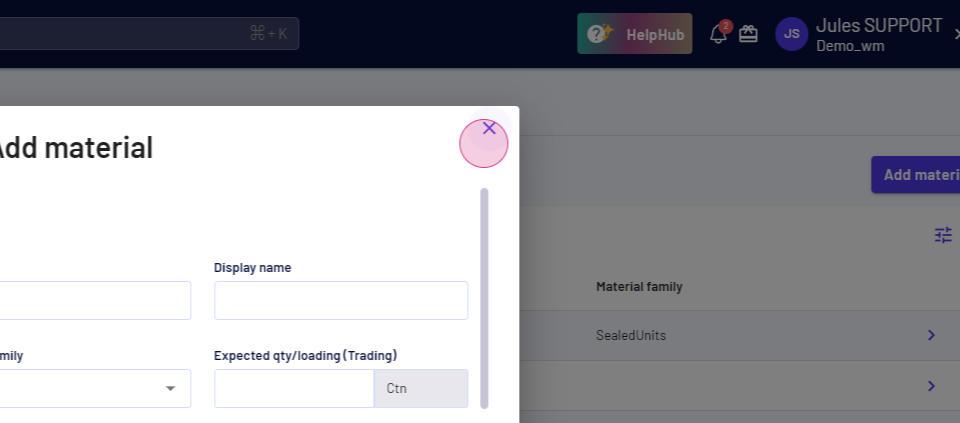
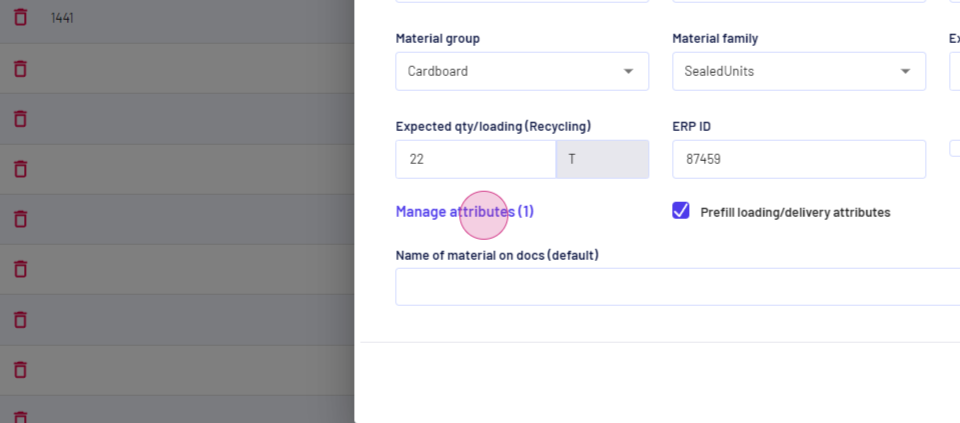
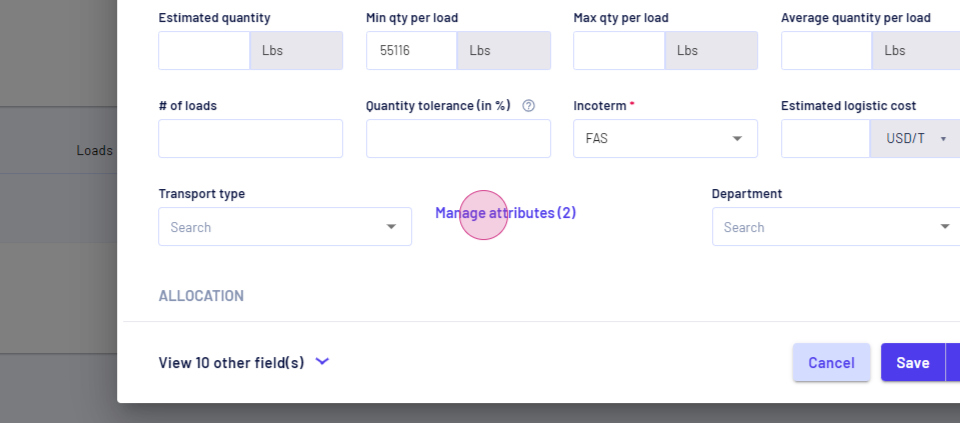
Step 3: Click on Add or Manage attributes.
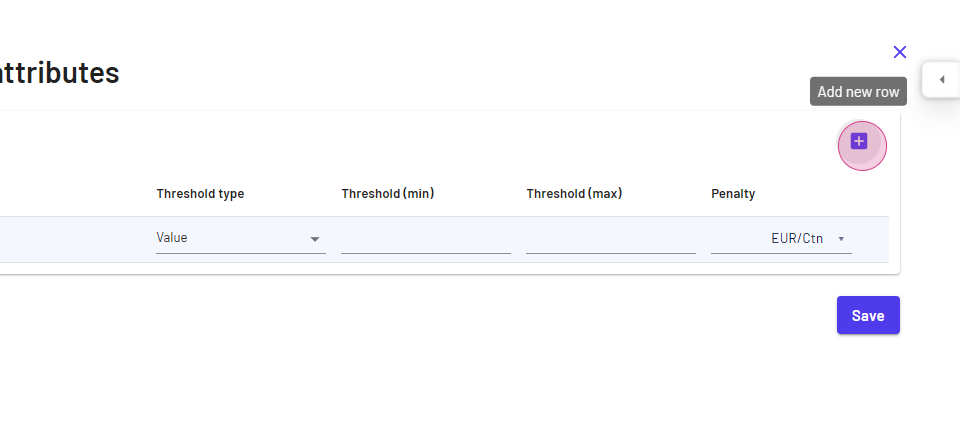
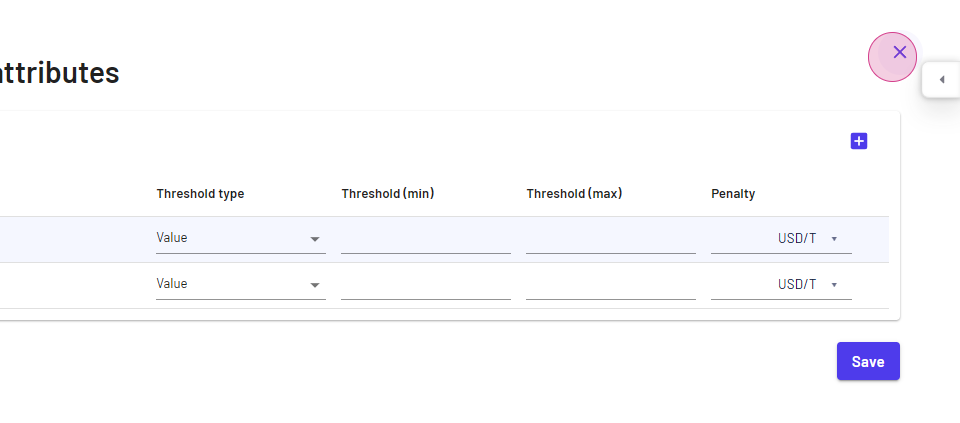
Step 4: Click on Add a new row.
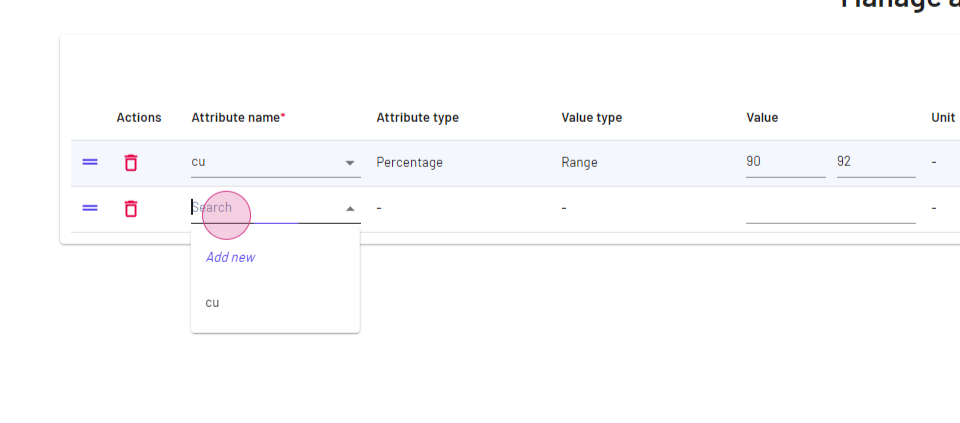
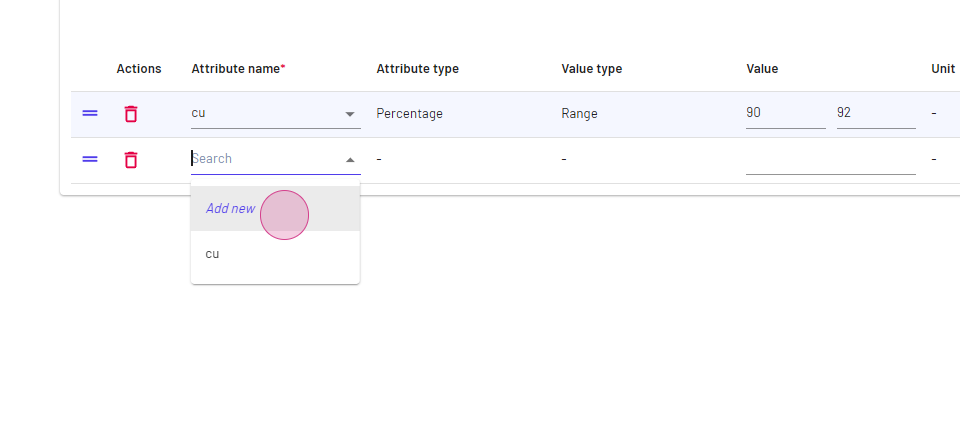
Step 5: Select the attribute from the drop-down menu or click on Add new.
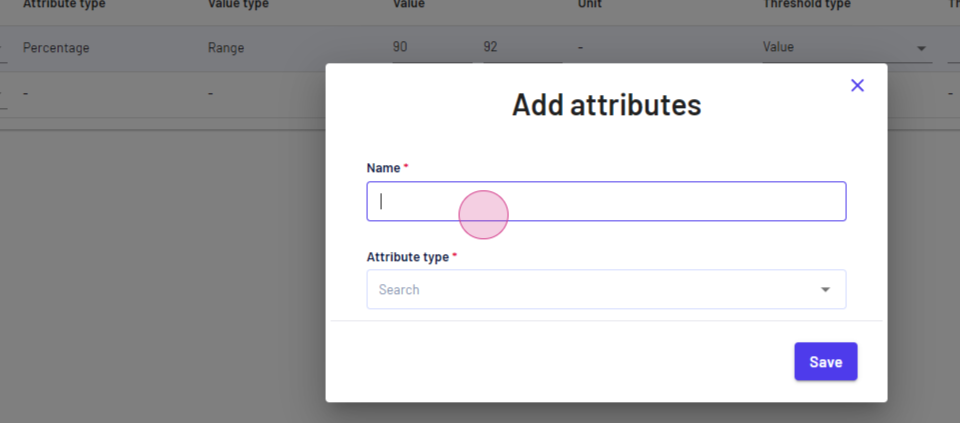
Step 6: Name the attribute.
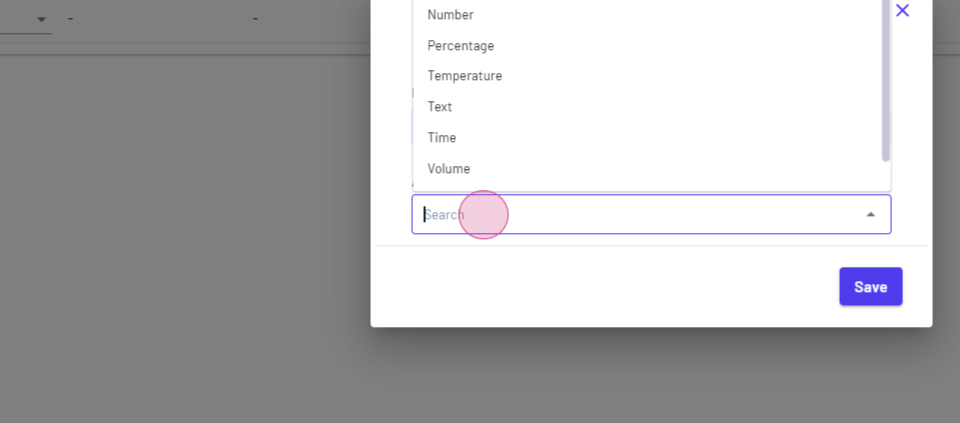
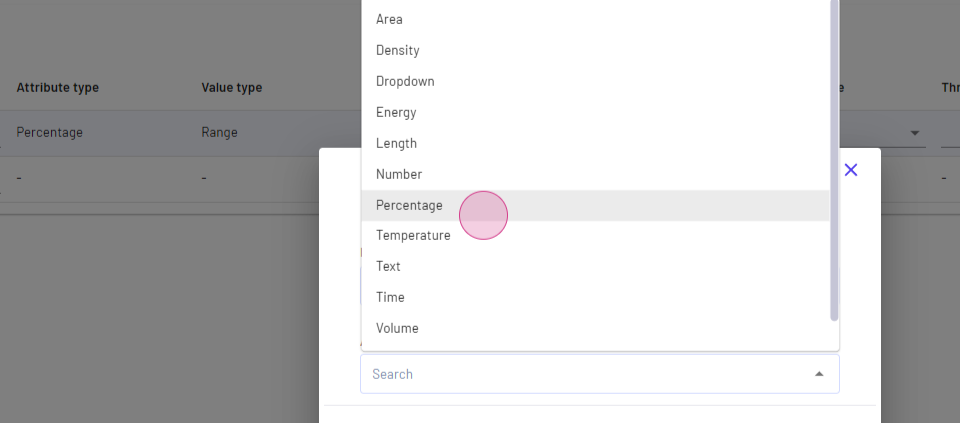
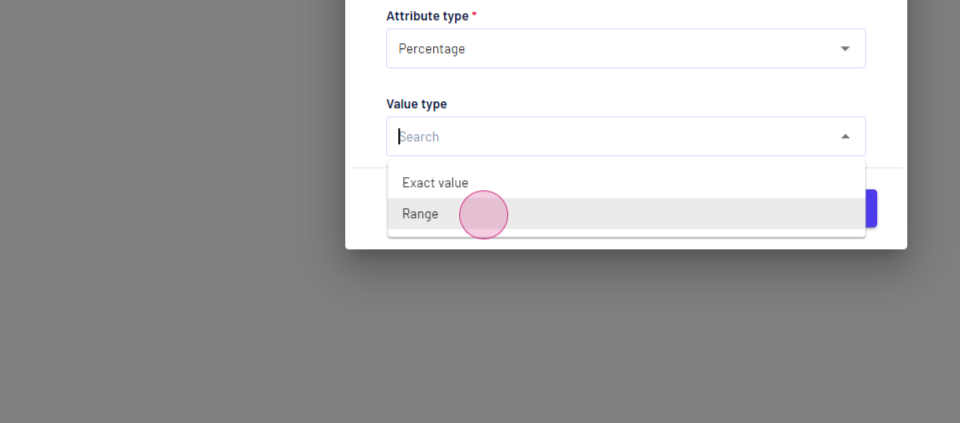
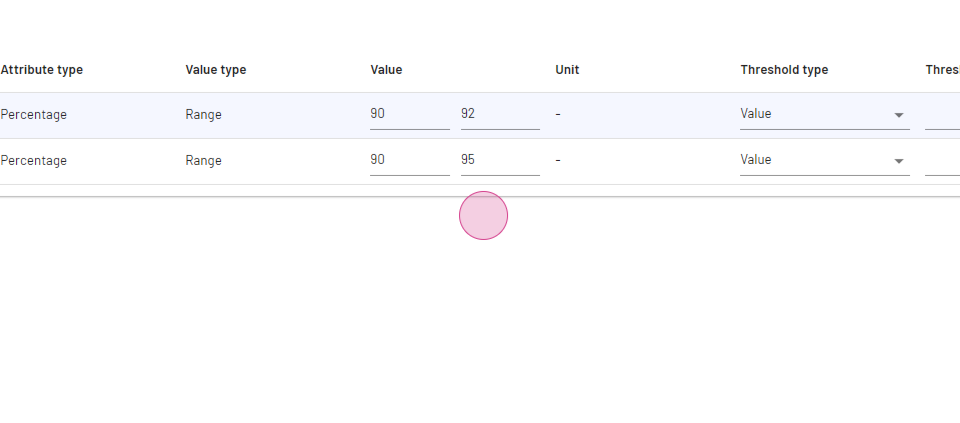
Step 7: Choose the attribute type. It could be a number, percentage, volume, or a drop-down. In this example, we're selecting percentage.
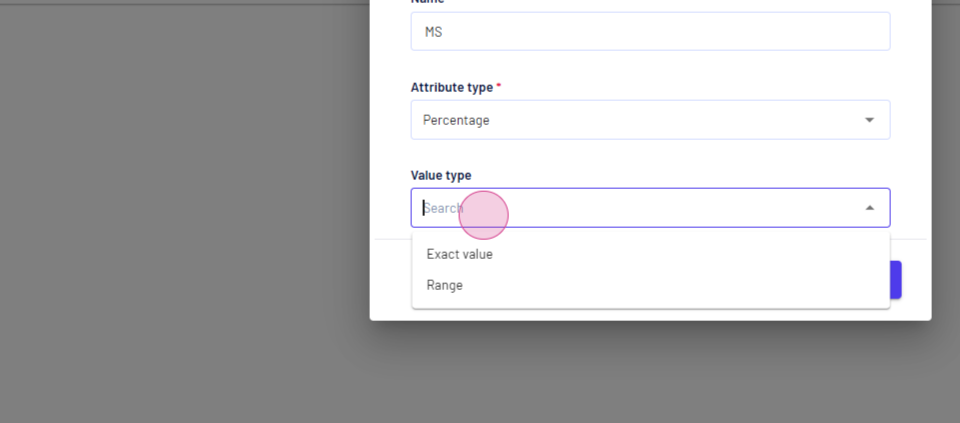
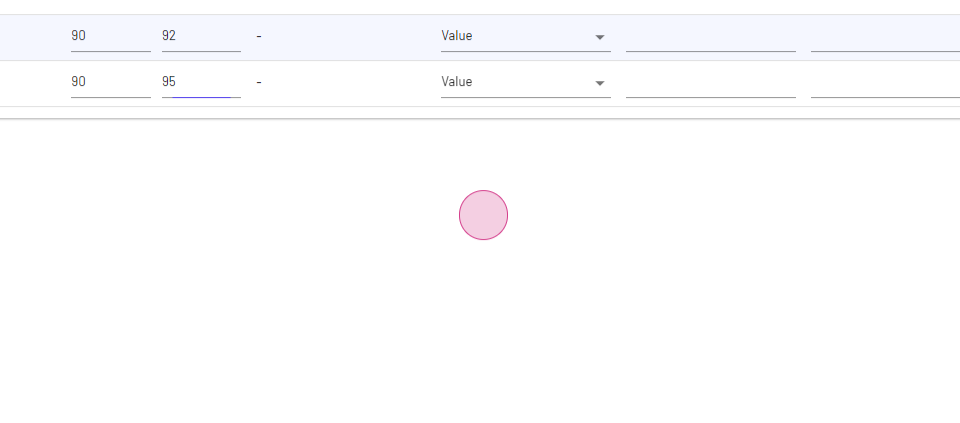
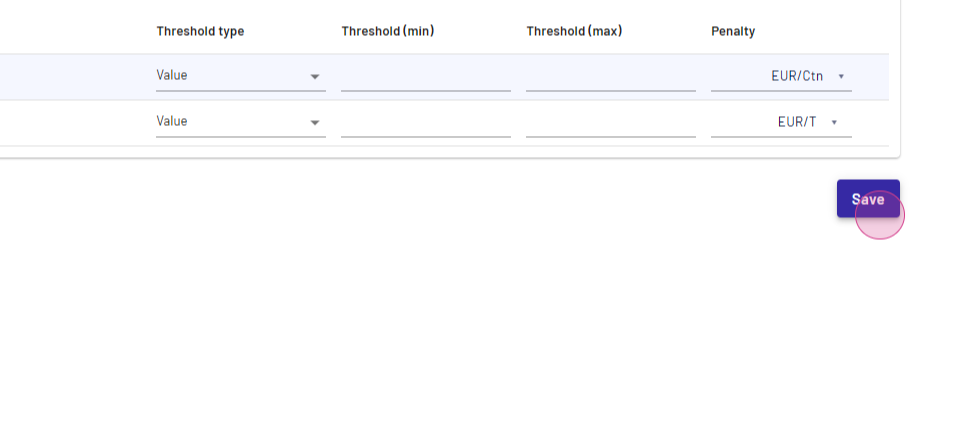
Step 8: Define the value. It can be an exact range, exact value, or exact range. In this case, we're selecting range.
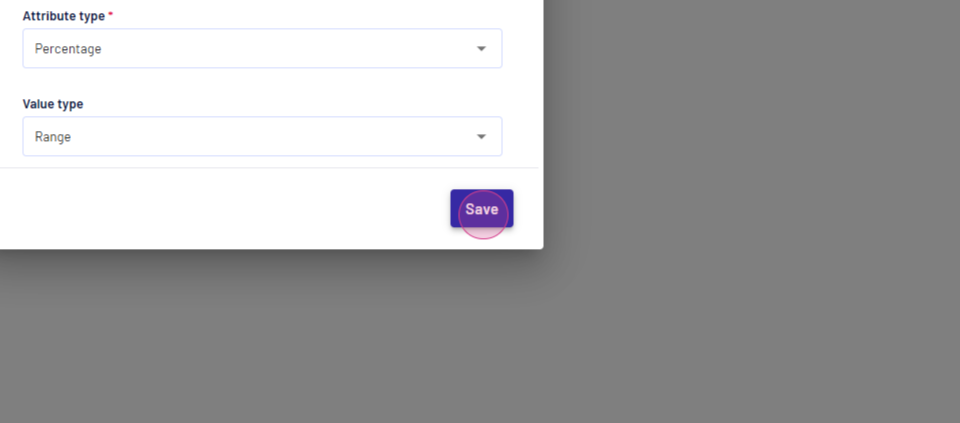
Step 9: Specify that the attribute should be within a certain range, for example, between 90 to 95%.
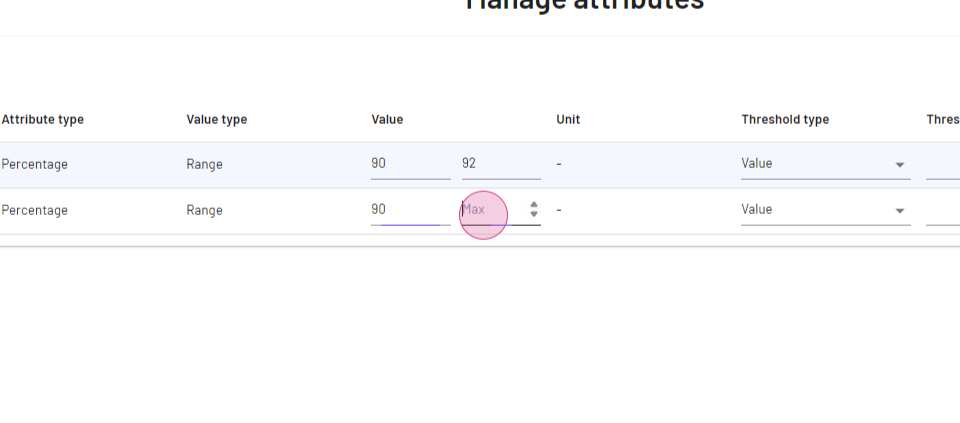
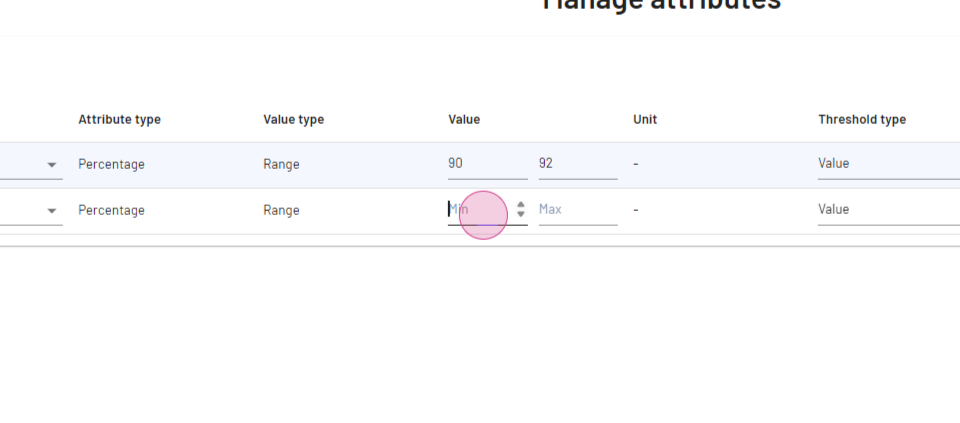
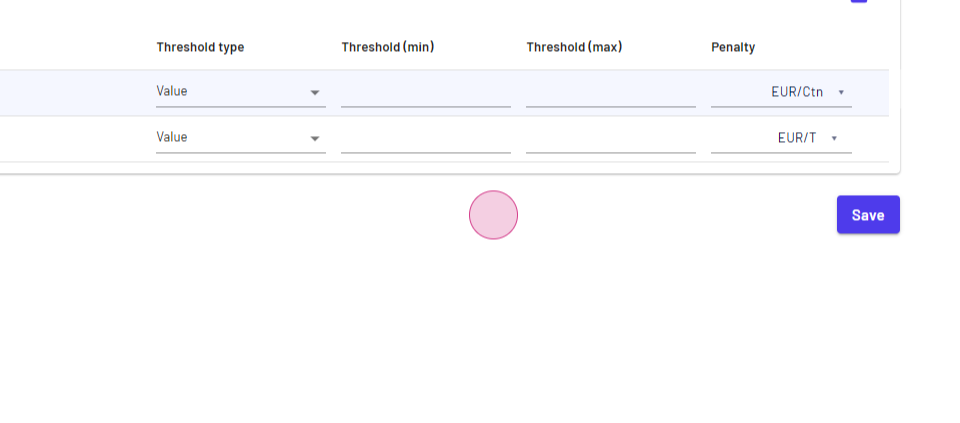
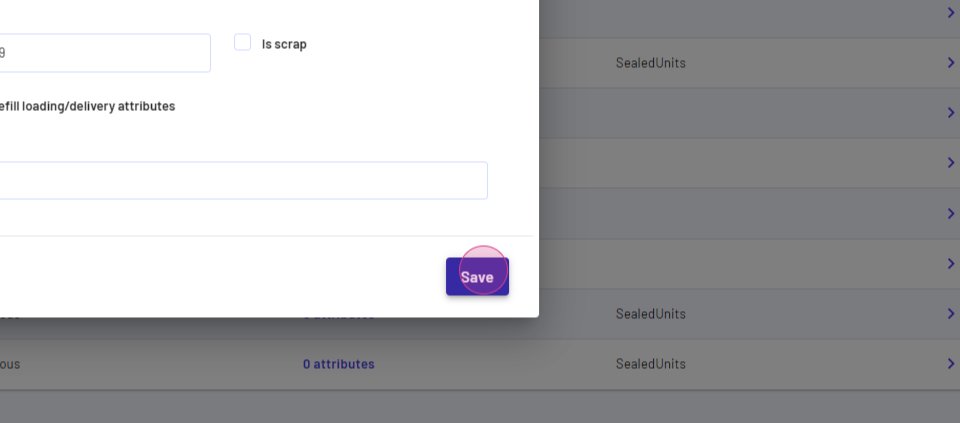
Step 10: Add additional details such as threshold, minimum, maximum, and penalty if it differs from the value.
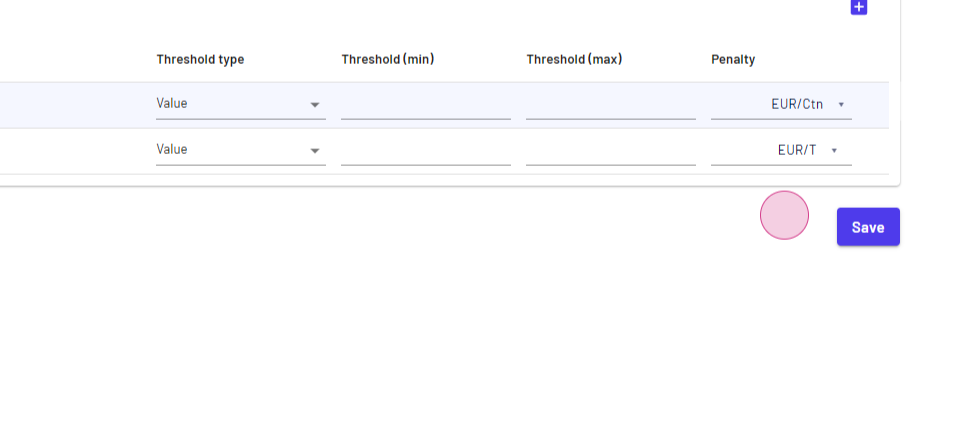
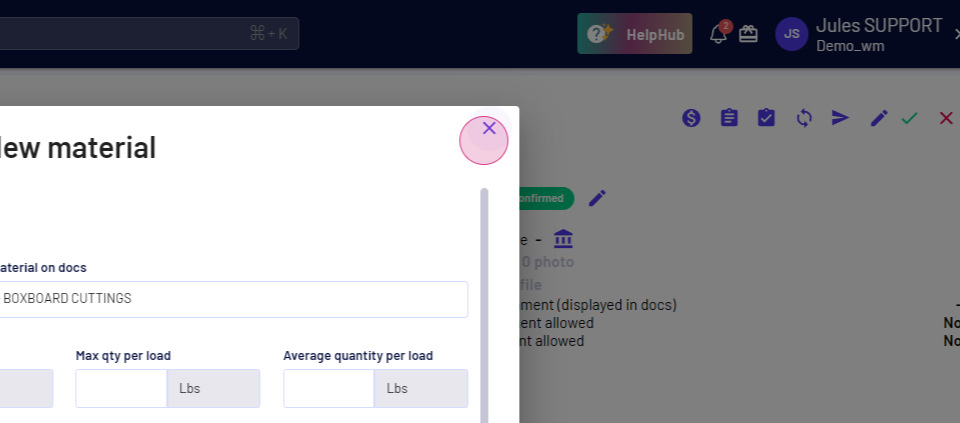
Step 11: Save this information and your material.
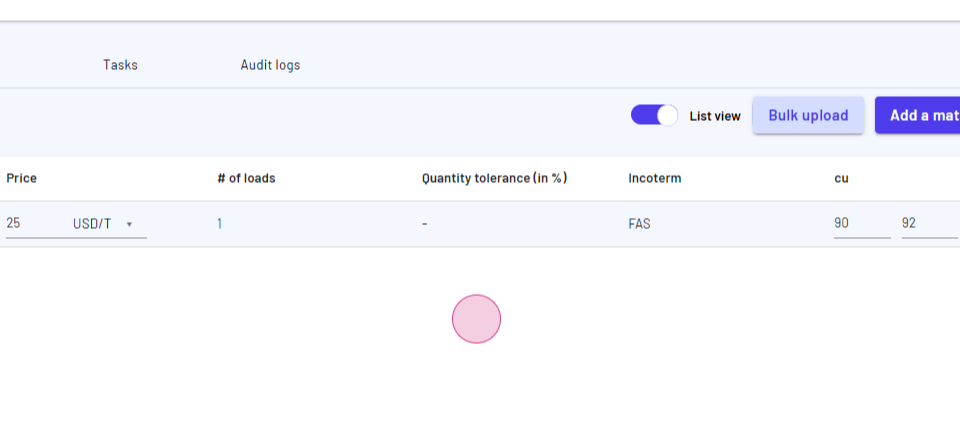
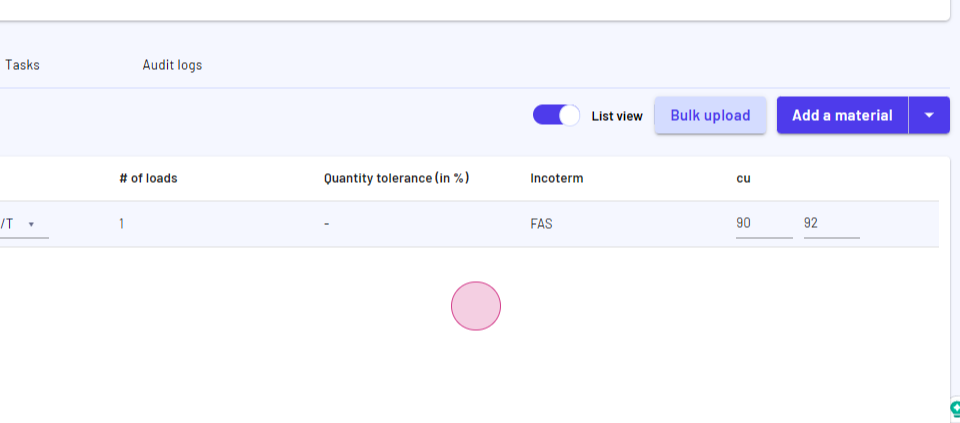
Step 12: When adding a new material or creating a new contract, if you select the same material for which you have recorded attributes, you'll find an option to manage attributes and see all the details.
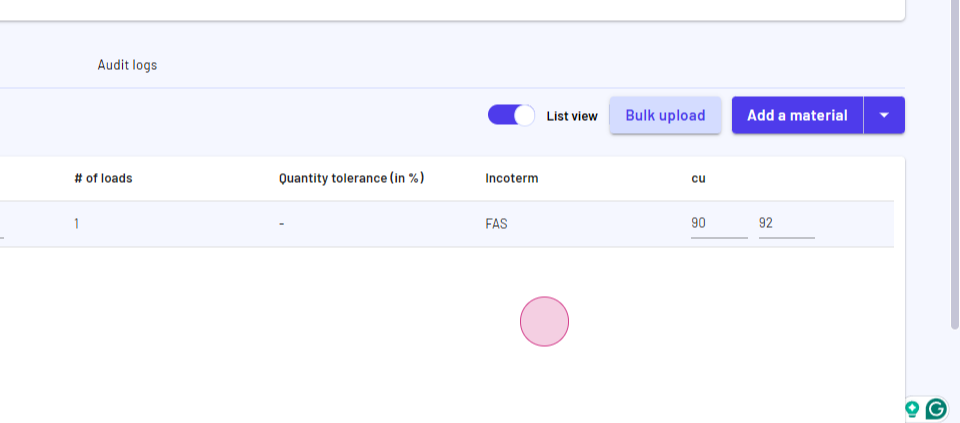
Step 13: After recording all this information, you can update to list view and see the attributes you added.

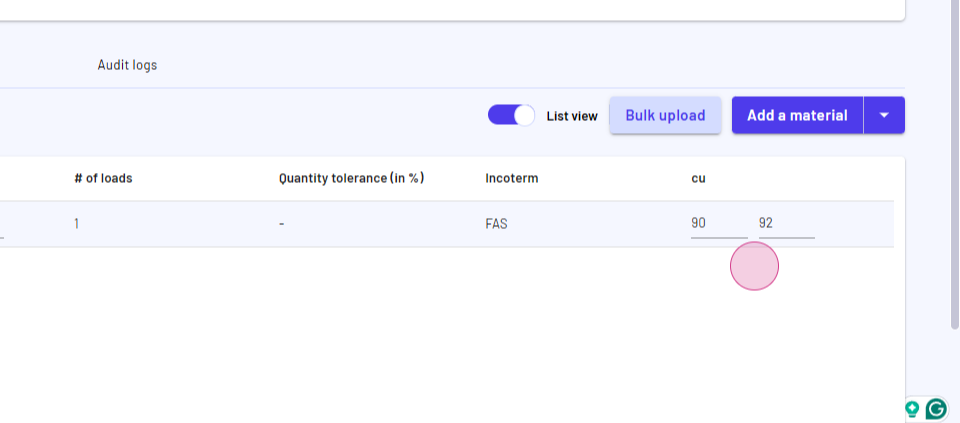
Step 14: These attributes will also appear in your loading and delivery information, assisting you with documents like the certificate of analysis.
Updated on: 20/04/2025
Thank you!